Showing posts with label tutorial. Show all posts

Thursday, April 7, 2011

Turtorial: Irish Lace Pincushion - The Network

For me, the 'network' was the most challenging part of the project.  I found myself wrapped around the axel on Rows (or Rounds) 9 and 10.  I struggled with Row 10 because I had Row 9 wrong.  Makes sense.

I can't tell you how many times I ripped out and reworked them.  Here are some pointers and pictures to help you make sense of the instructions.

You may have noticed this is not a tutorial in the traditional sense.  I am not working from start to finish assuming you are a crochet newbie.  I am counting on a basic understanding of the following stitches:  Chain, Slip Stitch, Single Crochet, and Double Crochet.  Also, I am not redoing the pattern from start to finish, but trying to provide clarification in areas that proved troublesome for me.  See, it's all about me.  As usual.

Row 8:  The pattern describes a Picot Loop as ch 3, ch 6-picot, ch 3, ch 6-picot, ch 3.  This is what it looks like (upside down).


Get comfortable with this as you will be making a LOT of them!

A variation of this is what I am going to call the Corner Loop.  The instructions are ch 7, ch 6-picot, ch 7, ch 6-picot, ch 7.  You will only make 4 of them and only in Row 8.


Much of Row 8 is worked from the back side of the piece in a manner similiar to when you made the Rose in Part 1.

To begin you make a Picot Loop, ending in the next petal.  You can see I have begun, but not attached the Corner Loop (next step). 


The second step is to make a Corner Loop.  This ends in the same petal where you started the loop.  Please refer to the illustration. and photo below.


Next is another Picot loop.

You make this series of Loops 3 more times to finish the round (Picot Loop, Corner Loop, Picot Loop, repeat). 


Here's what it looks like when you are finished with Row 8. 


I found it very helpful to pin this out from time to time.  You should have 4 Corner Loops and 8 Picot Loops.  Double check, because it is much easier to correct it now than later.  

Don't panic if your project looks like this.  Mine did too before I pinned it.  Nice, huh?  This may have been part of the reason I lost my way on this pattern. 


Row 9:  This is where I ran into the first bit of trouble.  The instructions are silent on what to do with the Corner Loops.  Here's the best advice I can give you.  Put stitch markers on them (to make them easier to identify them in Row 10 and you do nothing with the Corner Loops in Row 9.  The stitch markers also make it easier to ignore them in this row.

Stitch markers?  Holy cow, those weren't on the list of supplies!  Don't worry.  Alice, from future girl uses those cute colored paperclips.  Clever, clever girl.  Even regular paper clips will do and most folks have a few sliding around in the junk draw in the kitchen.

I scratched out a quick diagram showing how this row should be worked.  I just worked infront of the Corner Loops - the stitch marker should hold them out of your way.


Row 9 is in green.  You will be attaching 8 picot loops to the 8 picot loops in Row 8 - ignoring the corners.  It's important to note that you worked Row 8 from the back of the center rose.  For this point onward, you will be working from the front with the center rose facing you.

To begin the instructions say to slip stitch into the middle of a Row 8 picot loop.  From there you begin to work Row 9.  I hope this little diagram helps  The slip stiches are in green. 


Once you have made the 8 picot loops for Row 9, here's how it should look.  You can see the Corner Loops but they are not attached to the picot loops in this row.  They come into play in Row 10.  This is also a good time to make sure your new row has 8 new picot loops.


Row 10:  For this row you will attach the Corner Loops.  You will finish with a total of 12 new picot loops in this row, because you included the corner loops as you work your way around (4+8=12).  I have numbered the loops in the photo below.  The corners are between loops 1 and 12, 3 and 4, 6 and 7, 9 and 10.  Remove the stitch markers as you incorporate each corner.


Row 11:  Work picot loops all around.  Easy peasy.  No funny stuff.  Double check to make certain you have 12 picot loops.  If it looks like the photo below, finish off with a slip stitch.


Whoo Hoo!  You're finished with the network!  For me, this was the most difficult section to get my head around.   I'm generally pretty good at reading Crochet instructions, but sometimes a few pictures can really help.

Please send a comment if the illustrations or photos were confusing.  I will be happy to update the tutorial.

Next tutorial, will be how to make the Leaves.

Wednesday, April 6, 2011

Tutorial: Irish Lace Pincushion Part 1

How to make the center Rose

Download the pattern instructions here:  http://www.crochetme.com/media/p/115358.aspx 

Purchase recommended supplies:

I tried the size hook recommended in the pattern but found the thread kept slipping off the hook.  For this tutorial I am using a 1.25mm hook which I already had on hand.  If I make this again, I might move down to a 1.0mm hook. 

This style of hook is available by Clover.  The very fine (a.k.a. tiny) hooks are called 'steel'.  They have regular and steel hooks in this handle style.  I've found it to be much more comfortable and easier to grip than the more narrow aluminum styled hooks I learned on.  It costs a little more, but was well worth it, to me  It's a personal prefence thing.  Please, use what feels best for you.


Tip:  I found it helpful to work this through on yarn to begin.  It was larger and easier to see what I was doing.  It also has more stretch and is faster to work up.  Once I was comfortable with the yarn version, I moved to the thread version.

Row 1:  This pattern begins by chaining 7, closing the loop with a slip stitch to make a ring.  Folks, there's this thing called the Magic Ring which is so much easier for any crochet project that begins with a center ring. 


Next, single crochet 16 stitches into your ring.  It should look like this when you are finished.


Row 2:  Follow the pattern instructions.  Be sure to connect your chains into every other single crochet.  It should look like this.


Row 3.  Follow the pattern instructions.  Here is the finished row of petals.


Here is another image to help illustrate scale.  Pretty darn cute, but pretty darn small.


Row 4:  The rose is created in layers.  Row 4 begins the second layer.  Much of this row is worked from the back of the piece.  The instructions say to "Ch 6, sl st in back of work between next 2 petals".  Here's what it looks like from the back. 


The petals of the rose stack one directly on top of another, so it is important to make certain to insert your hook in the right place.

Once you have created the chain loops for the second layer of petals, it is important to count and make certain you have 8.  Because this is so small it is easy to accidentally skip a petal.  It's easier to fix that now than later - trust me.

Row 5:  Work according to the instructions.  This is where you 'fill in' the second row of petals.  I found it easier to work from the  front, holding the first row of petals out of my way.  Here's how that looks.


Here's what it looks like when you are finished with the second row of petals.  This side view shows the two layers.


From the front.  See how the layers stack directly on top of one another?


From the back.


Rows 6 & 7:  These are essentially repeats of Rows 4 & 5.  Here's where you insert your hook to make the chain loops for row 6.


Once you complete the chain loops, double check to make certain you have 8.  Here's a view from the back side of Row 7.  The pins are just to hold the petals down for the photo. 

Row 7 has more double crochets in each petal than Row 5.  When you are finished with Row 7 it should look like this, with 3 distinct layers.

Another view from the top.  Note how all 3 layers are lined up, one on top of the next.


This is the end of Part 1.  I hope it was successful for you!  If you have questions or comments just send me a quick note.  I would also like your feedback on how I could make this pattern easier to understand.

Next is Part 2 - the Network.  Stay tuned.

Tuesday, April 5, 2011

Irish Lace Pincushion - New Project!

I recently began a new crochet project.  Something small.  Something to learn new skills.  Something I should be able to bang out in a day or two.


I found this super cute (free) pattern on Crochet Me and Ravelry. 


I mean, just how darling is that!


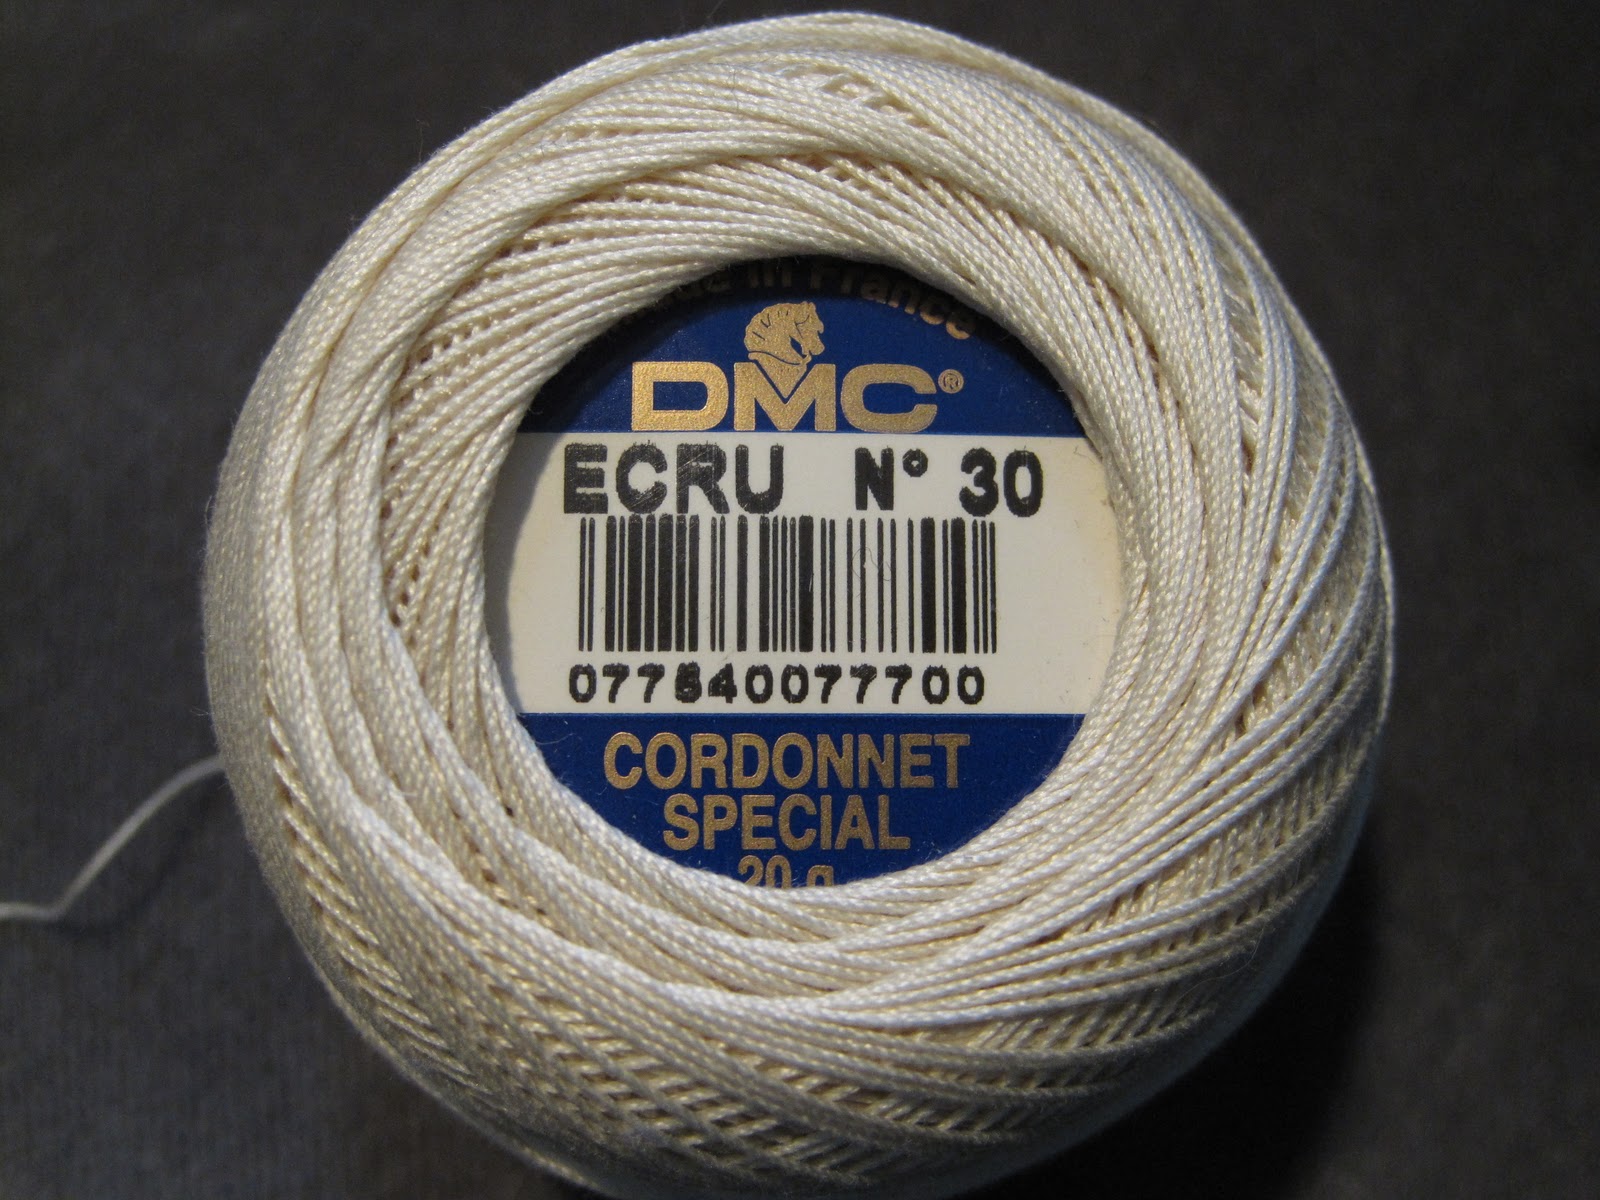
All I needed was a new crochet hook and the recommended thread, which for once didn't cost a fortune.


This hook is twice the recommended size of .60 mm - which I purchased.  Even so, I have hangnails larger than this hook!  By the way, this style hook is made by Clover and is the most comfortable I have ever used.  I no longer use the narrow aluminum hooks.  These are a little more expensive, but to me, well worth it.


My Grandmas had made Irish and fillet lace doilies, pillow slips, and dresser scarves by the dozen. 


Just how hard could it be?  Our grandmothers and great grandmothers used to make large tablecloths, and bedspreads, and curtains.  All without the aid of the Internet, and digital photography, ergonomic crochet hooks.


Ta Da!!! Isn't that the loveliest image... ever?  My efforts resulted in a snarly, snarky crochet birds nest. 

So I ripped it out and tried again.  And again.  And again.  Finally, I switched to yarn so that I could better see what the heck I was doing.  More hooking.  More ripping out.  Wasn't this a project I was just going to bang out in no time?

I read the pattern directions word by word - over and over again.  I made notes. I made changes.  I diagrammed the pattern.  I think I finally got it. 

The result?  I plan to post a 4 part tutorial on how to make this little stinker.  Part 1 will be the Rose.  Part 2 will be the network or background work - which is the part I had the most difficulty with.  Part 3 will be the leaves.  And finally Part 4 will be the edging.

This will be my first tutorial, so hang in there as I work out the technical details.  And if you're brave enough, try it with me.