Showing posts with label crochet. Show all posts

Tuesday, July 19, 2011

Lace Edge Crochet Scarf - Finished!

I know I blogged about this some time ago.  Just can't seem to remember when...

oh, June I guess.  Well that makes sense because I think I finished it at the end of June. 

Forgive me, my brain has turned to mush attempting to rollover an employer sponsored retirement program into an IRA.  But that's a sad story for another day.  I'm in the biz and had to call for help.  Super embarrassing.

Then there was another conversation about replacing the front door which at 70+ years of sun, rain, and no overhang to protect is started to show it's age.  Which hinges should we use? Interlocking weather stripping? Double dead bolts?  Replacing the threshold?  Having the hardword floor people make some touch ups?  Good lord!  We've covered these points 10 times.  Just get on with it all ready.

The Sweetie wants me to call the the Kidlet - who's home for the summer but seems to be MIA today - and ask him if he is going to the Sounders Friendly Game against Manchester United tomorrow (soccer).   My solution will be to tape a note and ticket to the bathroom mirror and call it good.  We've talked about this 10 times too.

So I am in rare snarly, snarky form.  Perfect for showing you the pics of my most recently finished project. 

I thought I would show you how it might be worn.  I have a motorcycle inspired jacket in gray wool.  With some dark jeans, high heeled booties, the scarf would soften the look a little.  Doesn't everyone hang outfits in the garden and take pictures?  The neighbors are going to have me committed.


This is the soft wool side.


And the silk side. 


Wrap this bad boy around a couple times and laugh at the cold!  And look hot doing it!  I feel the snarkiness leaving already.

Monday, June 6, 2011

New Crochet Project

Hiya.

I January I went to Nancy's Sewing Basket on Queen Anne.  It is a wonderful fabric store full of silks, brocades, wools, cashmere, linen.  Definitely not a shop geared toward quilters.  They have an entire room devoted to ribbon, new, antique, European.  All yummy.  Needless to say, when I go I seldom walk out empty handed.

On that visit I fell in love with this lovely silk/wool blend.  It's baby blue.  Soft, fuzzy wool on one side and smooth, satiny silk on the other.  It was super wide - something like 72".  I lightened my wallet by a yard.

I planned to make 3 scarfs each with a lace crochet trim.  I began by turning the rough edge with a blanket stitch in a lavender wool/silk yarn (Zephyr).  Then distractions snuck in.  Quilt projects, other yarny projects, so it sat.  I would pick it up from time to time, but mostly it sat.

The silk side is dreamy to run your hand along.


I've decided to finish most of my works in progress before I head into new adventures.  (That's mostly true, but that's a different story).  Over Memorial Day Weekend I finished the blanket stitch I began the crochet part.

The first two rows...  I'm using a 1.50mm hook, which is bigger than hooks I've used on some other projects.  I had hangnails larger than some of my crochet hooks.  You can see just the tiniest bit of the fuzzy wool side of the fabric.


I've completed about 25% of this final row.   I love my new Macro lens.


 I think it will be super cute when I finish.

Monday, May 30, 2011

Vintage Crochet Scarf and Hat - Finished!

Thank goodness I have listed gardening as one of the subjects of this blog.  Because that seems to have been my only topic of late.  I was feeling a smidge guilty about that for a little bit.  The thing is that weeds wait for no one.  You either spend time outside pulling them before they set seed or you spend a lot of time later when they multiply and spread. 


I have snuck in a few non-gardening projects, but they have moved along sooo slowly I have not blogged about them.


Friday evening I put the finishing touches on a  hat and scarf set.  I blogged about the scarf here.  But then it went into a black hole.  Not really, I just didn't blog about it.  I couldn't bring myself to commenting on "I added two more rows and they look fantastic".  That seemed silly, even for me.

So here is the finished product.

At first I wasn't sure how I wanted to finish it.  I thought tassels on the bottom of the points might be cute.  The pattern  added scallops around the edges.  Maybe I could give it a try and if I didn't like it, I could rip it out and go with my original idea.  Well, the scallops were totally cute, so no tassels.

I really wanted to make a hat next.  You might remember this pattern was for a baby blanket - not a hat.  I decided to add one more repeat of the main pattern and make a large rectangle.  Then I would add ribbing and and cinch the top together.  If it was too small I could always add a couple more rows to the body of the hat and ribbing.  Seemed pretty easy.


I used the tutorial written by Attic 24 for seaming the body of the hat and the ribbing.  It worked very well, and I think it will be more secure than if I stitched it together with a needle.  It also resulted in fewer ends to weave in.

The sweetie thought it needed a little something, so I added a tassel.  Good idea.  I think it turned out to be really cute.

Here is the set together.  Awwh.


Now I am on the hunt for some cute crochet mittens!  This has been a very fun project.  I hope you like it.

Thursday, April 7, 2011

Turtorial: Irish Lace Pincushion - The Network

For me, the 'network' was the most challenging part of the project.  I found myself wrapped around the axel on Rows (or Rounds) 9 and 10.  I struggled with Row 10 because I had Row 9 wrong.  Makes sense.

I can't tell you how many times I ripped out and reworked them.  Here are some pointers and pictures to help you make sense of the instructions.

You may have noticed this is not a tutorial in the traditional sense.  I am not working from start to finish assuming you are a crochet newbie.  I am counting on a basic understanding of the following stitches:  Chain, Slip Stitch, Single Crochet, and Double Crochet.  Also, I am not redoing the pattern from start to finish, but trying to provide clarification in areas that proved troublesome for me.  See, it's all about me.  As usual.

Row 8:  The pattern describes a Picot Loop as ch 3, ch 6-picot, ch 3, ch 6-picot, ch 3.  This is what it looks like (upside down).


Get comfortable with this as you will be making a LOT of them!

A variation of this is what I am going to call the Corner Loop.  The instructions are ch 7, ch 6-picot, ch 7, ch 6-picot, ch 7.  You will only make 4 of them and only in Row 8.


Much of Row 8 is worked from the back side of the piece in a manner similiar to when you made the Rose in Part 1.

To begin you make a Picot Loop, ending in the next petal.  You can see I have begun, but not attached the Corner Loop (next step). 


The second step is to make a Corner Loop.  This ends in the same petal where you started the loop.  Please refer to the illustration. and photo below.


Next is another Picot loop.

You make this series of Loops 3 more times to finish the round (Picot Loop, Corner Loop, Picot Loop, repeat). 


Here's what it looks like when you are finished with Row 8. 


I found it very helpful to pin this out from time to time.  You should have 4 Corner Loops and 8 Picot Loops.  Double check, because it is much easier to correct it now than later.  

Don't panic if your project looks like this.  Mine did too before I pinned it.  Nice, huh?  This may have been part of the reason I lost my way on this pattern. 


Row 9:  This is where I ran into the first bit of trouble.  The instructions are silent on what to do with the Corner Loops.  Here's the best advice I can give you.  Put stitch markers on them (to make them easier to identify them in Row 10 and you do nothing with the Corner Loops in Row 9.  The stitch markers also make it easier to ignore them in this row.

Stitch markers?  Holy cow, those weren't on the list of supplies!  Don't worry.  Alice, from future girl uses those cute colored paperclips.  Clever, clever girl.  Even regular paper clips will do and most folks have a few sliding around in the junk draw in the kitchen.

I scratched out a quick diagram showing how this row should be worked.  I just worked infront of the Corner Loops - the stitch marker should hold them out of your way.


Row 9 is in green.  You will be attaching 8 picot loops to the 8 picot loops in Row 8 - ignoring the corners.  It's important to note that you worked Row 8 from the back of the center rose.  For this point onward, you will be working from the front with the center rose facing you.

To begin the instructions say to slip stitch into the middle of a Row 8 picot loop.  From there you begin to work Row 9.  I hope this little diagram helps  The slip stiches are in green. 


Once you have made the 8 picot loops for Row 9, here's how it should look.  You can see the Corner Loops but they are not attached to the picot loops in this row.  They come into play in Row 10.  This is also a good time to make sure your new row has 8 new picot loops.


Row 10:  For this row you will attach the Corner Loops.  You will finish with a total of 12 new picot loops in this row, because you included the corner loops as you work your way around (4+8=12).  I have numbered the loops in the photo below.  The corners are between loops 1 and 12, 3 and 4, 6 and 7, 9 and 10.  Remove the stitch markers as you incorporate each corner.


Row 11:  Work picot loops all around.  Easy peasy.  No funny stuff.  Double check to make certain you have 12 picot loops.  If it looks like the photo below, finish off with a slip stitch.


Whoo Hoo!  You're finished with the network!  For me, this was the most difficult section to get my head around.   I'm generally pretty good at reading Crochet instructions, but sometimes a few pictures can really help.

Please send a comment if the illustrations or photos were confusing.  I will be happy to update the tutorial.

Next tutorial, will be how to make the Leaves.

Wednesday, April 6, 2011

Tutorial: Irish Lace Pincushion Part 1

How to make the center Rose

Download the pattern instructions here:  http://www.crochetme.com/media/p/115358.aspx 

Purchase recommended supplies:

I tried the size hook recommended in the pattern but found the thread kept slipping off the hook.  For this tutorial I am using a 1.25mm hook which I already had on hand.  If I make this again, I might move down to a 1.0mm hook. 

This style of hook is available by Clover.  The very fine (a.k.a. tiny) hooks are called 'steel'.  They have regular and steel hooks in this handle style.  I've found it to be much more comfortable and easier to grip than the more narrow aluminum styled hooks I learned on.  It costs a little more, but was well worth it, to me  It's a personal prefence thing.  Please, use what feels best for you.


Tip:  I found it helpful to work this through on yarn to begin.  It was larger and easier to see what I was doing.  It also has more stretch and is faster to work up.  Once I was comfortable with the yarn version, I moved to the thread version.

Row 1:  This pattern begins by chaining 7, closing the loop with a slip stitch to make a ring.  Folks, there's this thing called the Magic Ring which is so much easier for any crochet project that begins with a center ring. 


Next, single crochet 16 stitches into your ring.  It should look like this when you are finished.


Row 2:  Follow the pattern instructions.  Be sure to connect your chains into every other single crochet.  It should look like this.


Row 3.  Follow the pattern instructions.  Here is the finished row of petals.


Here is another image to help illustrate scale.  Pretty darn cute, but pretty darn small.


Row 4:  The rose is created in layers.  Row 4 begins the second layer.  Much of this row is worked from the back of the piece.  The instructions say to "Ch 6, sl st in back of work between next 2 petals".  Here's what it looks like from the back. 


The petals of the rose stack one directly on top of another, so it is important to make certain to insert your hook in the right place.

Once you have created the chain loops for the second layer of petals, it is important to count and make certain you have 8.  Because this is so small it is easy to accidentally skip a petal.  It's easier to fix that now than later - trust me.

Row 5:  Work according to the instructions.  This is where you 'fill in' the second row of petals.  I found it easier to work from the  front, holding the first row of petals out of my way.  Here's how that looks.


Here's what it looks like when you are finished with the second row of petals.  This side view shows the two layers.


From the front.  See how the layers stack directly on top of one another?


From the back.


Rows 6 & 7:  These are essentially repeats of Rows 4 & 5.  Here's where you insert your hook to make the chain loops for row 6.


Once you complete the chain loops, double check to make certain you have 8.  Here's a view from the back side of Row 7.  The pins are just to hold the petals down for the photo. 

Row 7 has more double crochets in each petal than Row 5.  When you are finished with Row 7 it should look like this, with 3 distinct layers.

Another view from the top.  Note how all 3 layers are lined up, one on top of the next.


This is the end of Part 1.  I hope it was successful for you!  If you have questions or comments just send me a quick note.  I would also like your feedback on how I could make this pattern easier to understand.

Next is Part 2 - the Network.  Stay tuned.

Tuesday, April 5, 2011

Irish Lace Pincushion - New Project!

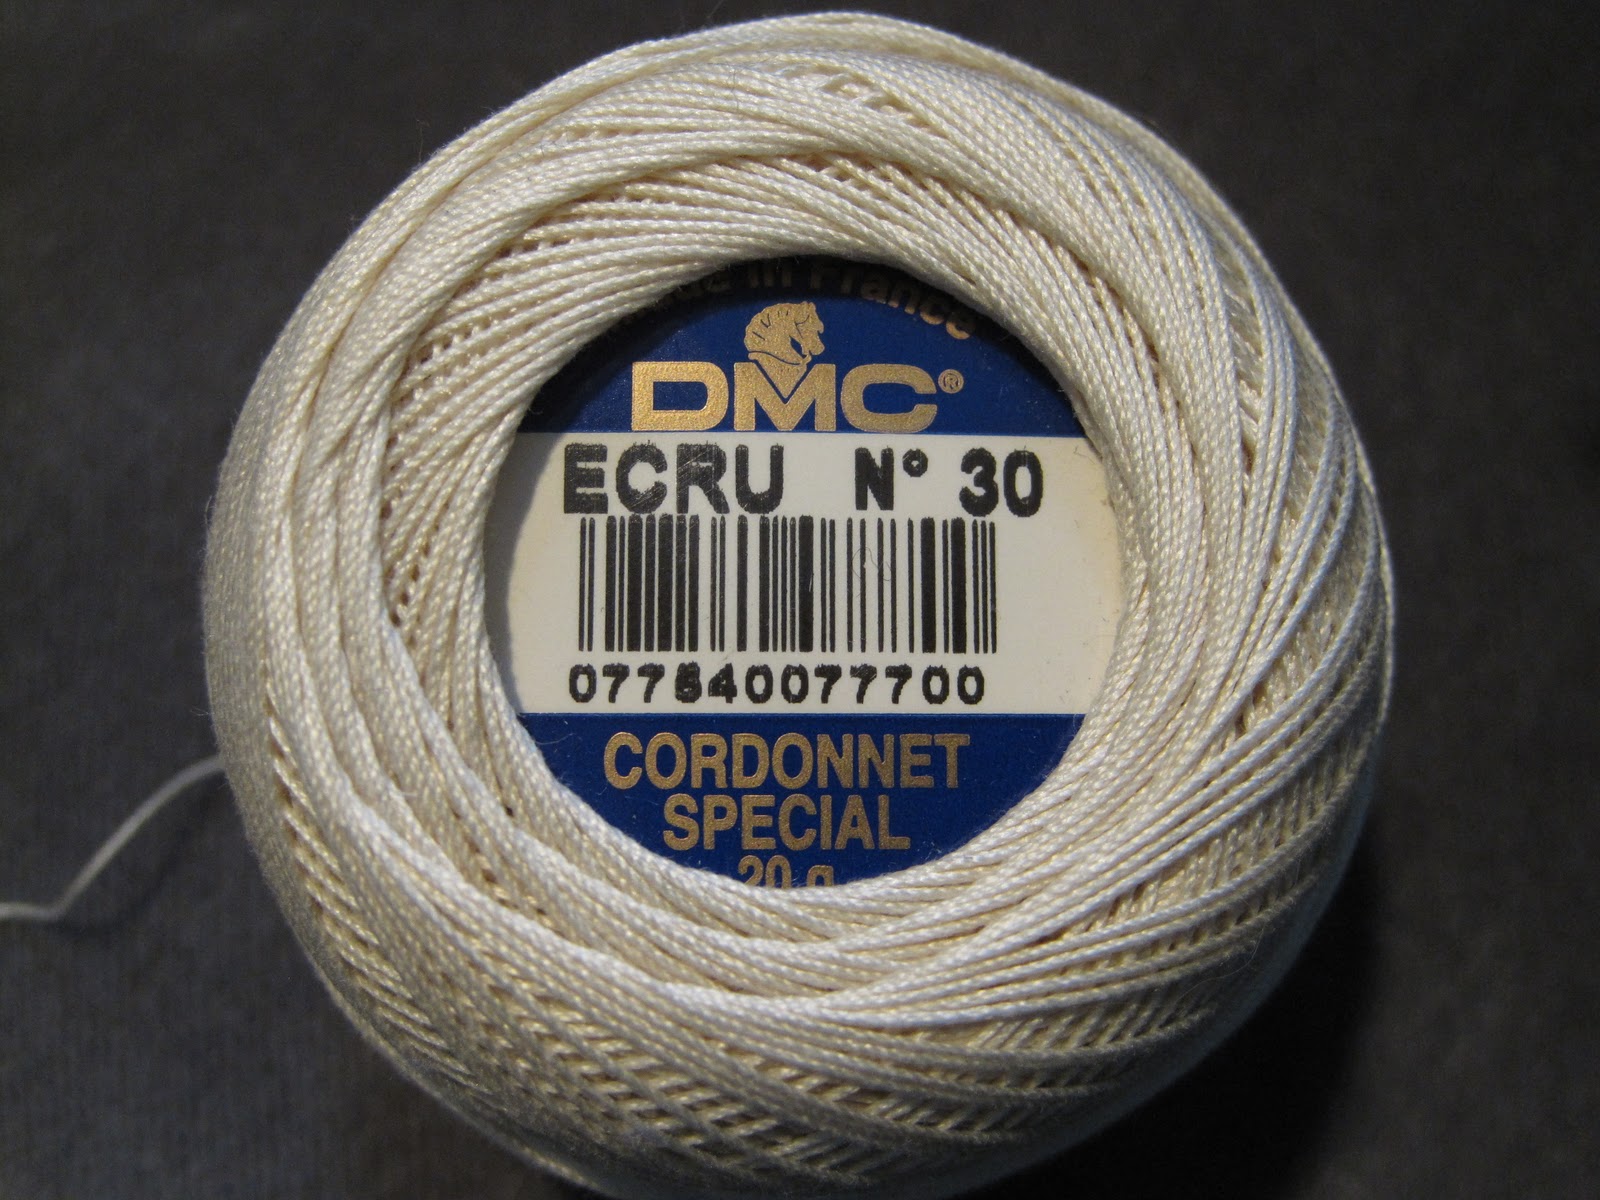
I recently began a new crochet project.  Something small.  Something to learn new skills.  Something I should be able to bang out in a day or two.


I found this super cute (free) pattern on Crochet Me and Ravelry. 


I mean, just how darling is that!


All I needed was a new crochet hook and the recommended thread, which for once didn't cost a fortune.


This hook is twice the recommended size of .60 mm - which I purchased.  Even so, I have hangnails larger than this hook!  By the way, this style hook is made by Clover and is the most comfortable I have ever used.  I no longer use the narrow aluminum hooks.  These are a little more expensive, but to me, well worth it.


My Grandmas had made Irish and fillet lace doilies, pillow slips, and dresser scarves by the dozen. 


Just how hard could it be?  Our grandmothers and great grandmothers used to make large tablecloths, and bedspreads, and curtains.  All without the aid of the Internet, and digital photography, ergonomic crochet hooks.


Ta Da!!! Isn't that the loveliest image... ever?  My efforts resulted in a snarly, snarky crochet birds nest. 

So I ripped it out and tried again.  And again.  And again.  Finally, I switched to yarn so that I could better see what the heck I was doing.  More hooking.  More ripping out.  Wasn't this a project I was just going to bang out in no time?

I read the pattern directions word by word - over and over again.  I made notes. I made changes.  I diagrammed the pattern.  I think I finally got it. 

The result?  I plan to post a 4 part tutorial on how to make this little stinker.  Part 1 will be the Rose.  Part 2 will be the network or background work - which is the part I had the most difficulty with.  Part 3 will be the leaves.  And finally Part 4 will be the edging.

This will be my first tutorial, so hang in there as I work out the technical details.  And if you're brave enough, try it with me.

Friday, March 18, 2011

Japanese Flower Scarf - Finished!

I am so happy!  I finally have pictures of the finished scarf!  I posted them to Ravelry - which is an awesome site for all sorts of yarney people - but, alas, not here, yet.


The colors remind me of the water in Puget Sound, reflecting the grayish overtones of our winter skies in the Northwest.  Not like the bright colors of the ocean in Hawaii, but lovely nonetheless.

I took it off the blocking board yesterday.

More about the blocking board...  People use all sorts of methods to block finished yarney projects.  I was one of them.  I have pinned items to the carpet - not really carpet - area rugs.  To towels on on the carpet.  Lots of ways. Yarney projects take up a lot of real estate on the floor.  For a long time.  There's the walking around them.  Vacuuming beforehand (y'all know of my love affair with vacuuming - not!). 

The Sweetie is very particular about our hardwood floors which live under the area rugs.  It was going to be a matter of time, before he saw me spraying water on a rug and give me the raised eyebrow whammy.  Now, he is not in charge of me.  Although he thinks he is.  But I know when I am treading on a hot button point.  We have been together for a long time and I have discovered a few along the way.  We all have them (my list is long).  And the floor, for whatever reason, is one of his.  For me, it's cats on the kitchen counters - yuck!  Love 'em, but not on the counters.

Enough ramblin'...

So, I broke down and bought a real blocking board.  Yes, I know... they are not inexpensive.  Quite the opposite is true.  But I gotta tell you, I love it.  It has grid lines (which is great for the mohair granny square project currently on the board.  Pins stay put.  It's portable.  I can put the board, complete with attached project on a bed (not when people are in bed, of course), so it's up, off the floor.  It folds away into a closet when not it use.  I love it.  I picked it up at my favorite yarn store with a gift certificate I received for my birthday.  Super duper happy.

Oops, more rambling... The kidlet comes home for Spring Break this evening.  That means I lose my office/project room and it becomes a guest room for a week.  But it will be very nice to see him again.  It's been since Christmas break.  He's not a great communicator, so we have only heard from him a couple times since he's been back to school.  We've loaded up the fridge so I think we are ready (I can hear the floor joists groaning under the weight).  Now if he would only tell us if we need to pick him up at the train station or if he has a ride... 

Tuesday, March 15, 2011

New Japanese Flower Scarf

I've blogged about finishing my Japanese Flower Scarf while I was away.  I could have taken pictures of it while we were in Maui but alpaca and sandy beaches just didn't seem to go together very well.

I could have taken pictures over the weekend, but it poured rain and the lighting seemed dark.  Today while it was raining, I took a quick break and decided to block it.  Even with all the pins it looks so much better.

So what do you think happens?  The clouds clear late afternoon, early evening and the sun comes out.  I mean the real sun.  The kind that leaves shadows.  The kind that feels warm on your skin.  D'oh!  I could have blocked it over the weekend when it was yucky and I would've been ready to capture the perfect pic when the sun peaked out.  We will all just have to wait I guess.

When I finished the blue one, I started another.  This time in grey, dusty pink, and dusty purple.  Same delish alpaca yarn.  It is a super fun pattern and comes together so quickly.


I decided on a different layout for this one.  Instead of nesting the flowers together I placed them side by side.  Which leaves a good sized hole in the center of each 4 flower grouping.  I filled the hole with another smaller, layered flower.  And if I don't say so myself, I think it's pretty darn cute.

Here's a close up of the little flower.   Pretty and sweet.


And the bigger flower.  This will definitely need to be blocked, but right now it is relaxed, drapey goodness.  I have been much better about weaving in the tails as I go.  It looks much cleaner as I work on it and the task at the end is only a few ends rather than what feels like a gazillion.


And the Unusually Helpful Helper - Max.  Helping.


Max thinks yarn is the best thing... ever.  See how helpful he is?


With all of this help I decided to wrap up the photo session a little early.  I went into my office/guest room/project room to download my new pics.  And my Unusually Helpful Helper decides to lie on the un-pinned portion of the blue scarf! 

Dude!  You've already had loads of pets and snuggles today. 


Thank goodness I am not paying for this kind of assistance.